

Post: Build Your First Audit Log Dashboard: Step-by-Step Guide
Building Your First Audit Log Dashboard: A Practical Guide for Actionable Insights
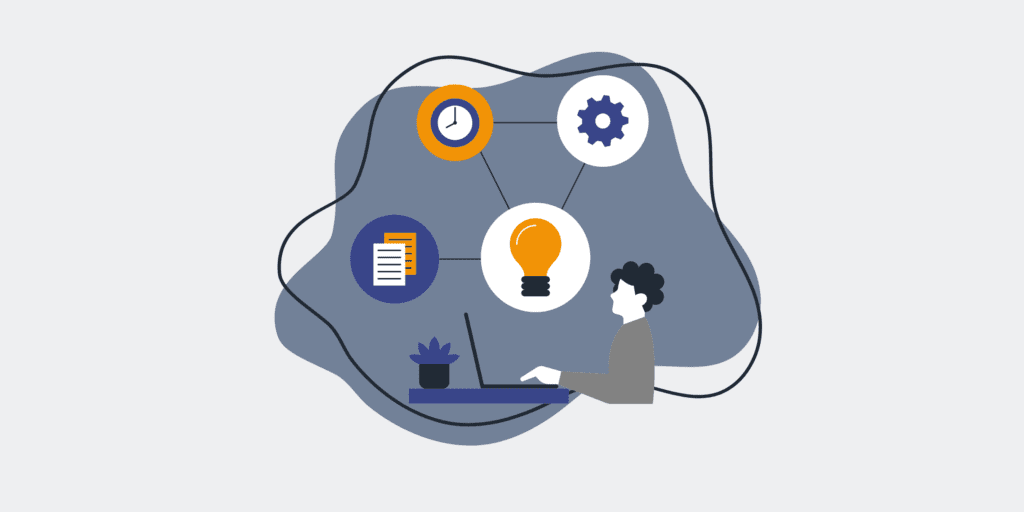
In today’s fast-paced business environment, understanding “who changed what, when, and where” is no longer a luxury—it’s a critical necessity. An effective audit log dashboard transforms raw, often overwhelming, log data into clear, actionable insights, enabling you to detect anomalies, troubleshoot issues, ensure compliance, and maintain data integrity. This guide provides a practical, step-by-step approach to constructing your first audit log dashboard, turning a reactive process into a proactive intelligence hub that safeguards your operations and data, saving your team valuable time and preventing costly errors.
Step 1: Define Your Objectives and Key Metrics
Before diving into tools and data, articulate what you aim to achieve with your audit log dashboard. Are you focused on security monitoring, compliance reporting, operational troubleshooting, or user activity analysis? Clearly defining these objectives will dictate which data sources are crucial and how the dashboard should be structured. For instance, a security objective might prioritize failed login attempts and permission changes, while an operational goal might highlight record updates in a CRM or document status changes. Identify the specific key performance indicators (KPIs) or alerts that will signal success or potential issues, ensuring every element of your dashboard serves a defined purpose and drives tangible value for your business.
Step 2: Identify and Consolidate Your Audit Log Sources
Audit logs are scattered across various systems within most organizations. Begin by listing every application and service that generates relevant audit trails—this could include your CRM (e.g., Keap, HighLevel), HRIS, cloud infrastructure (AWS, Azure), identity management systems, databases, and even internal file management solutions. The challenge lies in bringing these disparate sources together. Consider APIs, database replication, or dedicated log management tools that can centralize data streams. The goal here is to create a single, unified repository for all audit data, making it accessible for analysis rather than sifting through individual system logs manually.
Step 3: Choose Your Dashboarding Tool
Selecting the right dashboarding tool is pivotal for usability and scalability. Options range from dedicated business intelligence (BI) platforms like Tableau, Power BI, or Looker to more developer-centric solutions like Grafana, Kibana (part of the ELK stack), or even custom web applications. For smaller operations, some CRM systems offer basic reporting that can be leveraged, or you might consider low-code automation platforms like Make.com to aggregate and visualize simpler datasets. Evaluate tools based on their ability to connect to your consolidated log sources, ease of use, visualization capabilities, cost, and alignment with your team’s technical expertise. A good tool simplifies complex data into understandable visual insights.
Step 4: Design Your Dashboard Layout & Visualizations
An effective dashboard is intuitively designed, presenting critical information at a glance. Sketch out your dashboard layout, prioritizing the most important metrics and alerts at the top or in prominent positions. Think about the types of visualizations that best represent your data: line charts for trends over time (e.g., login attempts per hour), bar charts for comparisons (e.g., changes per user), pie charts for distributions (e.g., types of actions), and tables for detailed events. Avoid clutter; each visualization should serve a specific purpose defined in Step 1. Group related metrics logically and use consistent color schemes to enhance readability and make data interpretation effortless for your users.
Step 5: Implement Data Connectors & ETL
With your sources identified and tool chosen, it’s time to build the data pipeline. This involves setting up connectors from your consolidated audit log repository to your dashboarding tool. Often, this requires an Extract, Transform, Load (ETL) process. You’ll extract raw log data, transform it into a structured format suitable for analysis (e.g., parsing log strings into discrete fields like `user_id`, `action_type`, `timestamp`, `resource_id`), and then load it into your dashboard tool’s data model or a dedicated data warehouse. This step is crucial for data quality; inaccuracies or inconsistencies here will propagate through your entire dashboard. Automation platforms are particularly useful for orchestrating these data flows.
Step 6: Build and Configure Your Dashboard Elements
Now, bring your design to life. Using your chosen dashboarding tool, start creating the visualizations and reports you designed in Step 4. Each element should pull data from your prepared datasets (from Step 5) and display it according to your layout. Configure filters, drill-down options, and interactive features that allow users to explore the data more deeply. For instance, a filter for “user ID” would let an administrator quickly see all actions performed by a specific individual. Ensure that alerts for critical events—like a high volume of failed logins or unauthorized access attempts—are clearly visible and perhaps even integrated with notification systems.
Step 7: Test, Iterate, and Train Users
No dashboard is perfect on its first iteration. Rigorously test your dashboard with real audit data to ensure accuracy, performance, and usability. Validate that all metrics are calculating correctly and that visualizations are effectively conveying information. Gather feedback from potential users—stakeholders, security teams, operations managers—to identify areas for improvement. Dashboards should evolve with your business needs, so be prepared to iterate. Finally, provide clear documentation and training for users on how to navigate and interpret the dashboard, fostering adoption and ensuring that this valuable resource becomes an integral part of your operational and security oversight.
If you would like to read more, we recommend this article: Mastering “Who Changed What”: Granular CRM Data Protection for HR & Recruiting


RELATED POST

")