

Post: Keap Onboarding Automation: Step-by-Step Checklist Guide
A Step-by-Step Guide to Automating Candidate Onboarding Checklists Using Keap Dynamic Tagging
In today’s competitive talent landscape, a seamless and efficient candidate onboarding experience isn’t just a nice-to-have – it’s a strategic imperative. Manual onboarding checklists are notorious for introducing human error, consuming valuable HR time, and creating an inconsistent experience for new hires. However, leveraging Keap’s powerful dynamic tagging capabilities offers a robust solution, transforming a tedious administrative process into a streamlined, automated workflow. This guide will walk you through setting up an automated onboarding checklist system in Keap, ensuring every new hire gets a consistent, comprehensive, and engaging welcome, all while freeing up your team to focus on higher-value activities.
Step 1: Map Your Candidate Onboarding Process
Before diving into Keap, a crucial first step is to thoroughly map out your existing candidate onboarding process. Identify every single task, document, communication, and approval required from the moment a candidate accepts an offer until their first 90 days are complete. This includes everything from sending welcome packets and collecting HR forms to scheduling initial training sessions and introducing team members. Break down each larger task into its smallest actionable components. Understanding this comprehensive journey is fundamental, as it forms the blueprint for your Keap automation, ensuring no critical step is missed and every interaction is accounted for. This detailed mapping will serve as your guide for structuring your Keap campaign and dynamic tags.
Step 2: Configure Custom Fields in Keap for Checklist Tracking
To effectively track the progress of each onboarding item, you’ll need to create custom fields within Keap. These fields will act as indicators for specific checklist tasks. For instance, you might create custom fields like “Welcome Packet Sent (Date)”, “HR Forms Signed (Yes/No)”, “IT Setup Completed (Checkbox)”, or “Manager Introduction Scheduled (Date)”. The key is to select field types that best represent the status of each task. These custom fields will not only provide real-time visibility into each candidate’s onboarding journey but also serve as triggers and conditions within your Keap automation, allowing the system to dynamically respond as tasks are completed. This data-driven approach ensures precision and accountability.
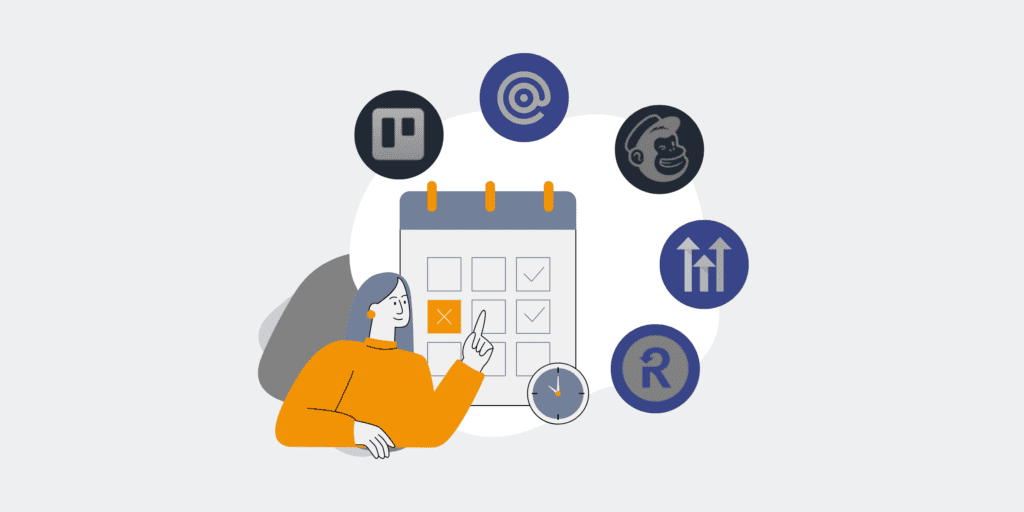
Step 3: Design Your Keap Campaign for Onboarding
With your process mapped and custom fields in place, it’s time to build the core onboarding campaign in Keap. This campaign will be the central hub for all automated actions. Start by defining the entry point for your new hires – typically when a contact is tagged with something like “New Hire – Onboarding”. Within the campaign builder, lay out the sequence of events based on your mapped process. This will involve a series of sequences, decision diamond goals, and timers. Each sequence will represent a stage or a group of tasks in the onboarding journey, designed to guide the candidate and your internal team through the necessary steps in a logical, time-sensitive manner, ensuring a consistent and positive experience.
Step 4: Implement Dynamic Tagging for Checklist Items
Dynamic tagging is where Keap truly shines in automating this process. For each major checklist item, create a corresponding tag (e.g., “Onboarding – Welcome Packet Sent”, “Onboarding – HR Forms Complete”). Within your Keap campaign, set up automation rules to apply these tags once a task is completed. This might happen in several ways: a team member manually applies a tag, a candidate clicks a link in an email confirming a step, or an external system updates a custom field via an integration, which then triggers a tag application. These tags serve as real-time progress markers, enabling subsequent steps in the campaign to fire only when previous conditions are met, ensuring a perfectly tailored and sequential onboarding flow.
Step 5: Automate Task Assignment and Reminders
Leverage Keap’s automation to assign internal tasks to relevant team members and send automated reminders. For example, once a candidate is tagged “New Hire – IT Setup Needed”, an internal task can automatically be created for your IT department. If a specific custom field for “HR Forms Signed” isn’t updated within a set timeframe, an automated reminder email can be sent to the candidate or an internal alert to the HR team. This significantly reduces the manual oversight required, ensuring that both internal teams and new hires are prompted at the right time. This proactive approach prevents bottlenecks, minimizes delays, and keeps the onboarding process moving smoothly and efficiently for everyone involved.
Step 6: Personalize Communications with Merge Fields
Keap’s merge fields allow you to pull data directly from your custom fields into your communications, personalizing the onboarding experience. For instance, an email confirming that “IT Setup is complete” can dynamically include the new hire’s name, start date, and even details about their equipment, all pulled from their contact record. Beyond basic personalization, merge fields can also be used to dynamically reference the status of specific checklist items, providing real-time updates without manual intervention. This level of dynamic content makes the new hire feel valued and informed, enhancing their perception of your organization’s professionalism and attention to detail throughout the entire onboarding journey.
Step 7: Test, Refine, and Monitor Your Automation
Before rolling out your automated onboarding checklist system to live candidates, thorough testing is absolutely critical. Create several test contacts in Keap and run them through the entire campaign from start to finish, simulating different scenarios and ensuring all tags, custom fields, tasks, and communications fire as expected. Pay close attention to timing, conditional logic, and the accuracy of merge fields. After going live, continuously monitor the system’s performance, gather feedback from new hires and internal teams, and be prepared to make iterative refinements. Automation is not a “set it and forget it” solution; ongoing optimization ensures it continues to meet your evolving business needs and deliver maximum impact.
If you would like to read more, we recommend this article: Beyond Native Backups: Complete Keap & High Level CRM Data Protection


RELATED POST


")