

Post: Automate Candidate Onboarding in Keap CRM with Make.com: A Practical Guide
How to Automate Candidate Onboarding Workflows in Keap CRM: A Step-by-Step Guide
For high-growth businesses, scaling means eliminating bottlenecks, especially in high-volume processes like candidate onboarding. Manual onboarding workflows are not only time-consuming but are also prone to human error, creating inconsistencies and a less-than-ideal experience for new hires. At 4Spot Consulting, we specialize in leveraging automation and AI to streamline operations, ensuring precision, efficiency, and scalability. This guide will walk you through the practical steps to automate your candidate onboarding process within Keap CRM, transforming a complex, manual task into a seamless, automated journey that frees up your valuable HR resources.
Step 1: Map Your Current Onboarding Journey and Identify Pain Points
Before you automate, you must thoroughly understand your existing candidate onboarding process. Begin by listing every single step, from the moment a candidate accepts an offer to their first day and beyond. This includes sending offer letters, collecting HR documents, setting up payroll, scheduling initial training, and sending welcome emails. Pay close attention to tasks that are repetitive, require manual data entry, involve multiple stakeholders, or frequently cause delays. These are your primary candidates for automation. A detailed OpsMap™ diagnostic, similar to what we conduct for our clients, can help visually represent these inefficiencies and pinpoint critical areas where automation will yield the highest ROI.
Step 2: Prepare Keap CRM and Integrate Essential Tools
Keap CRM will serve as the central hub for your automated onboarding. Ensure your Keap account is properly configured with custom fields to capture all necessary candidate information (e.g., start date, department, manager, employee ID). Create tags or stages within your Keap pipelines to track the candidate’s progress through onboarding. Next, identify external systems that need to interact with Keap during this process, such as your HRIS, e-signature platform (e.g., PandaDoc), communication tools, or even your accounting software. The goal is to create a seamless data flow between these systems, minimizing manual input and ensuring data consistency across your entire tech stack.
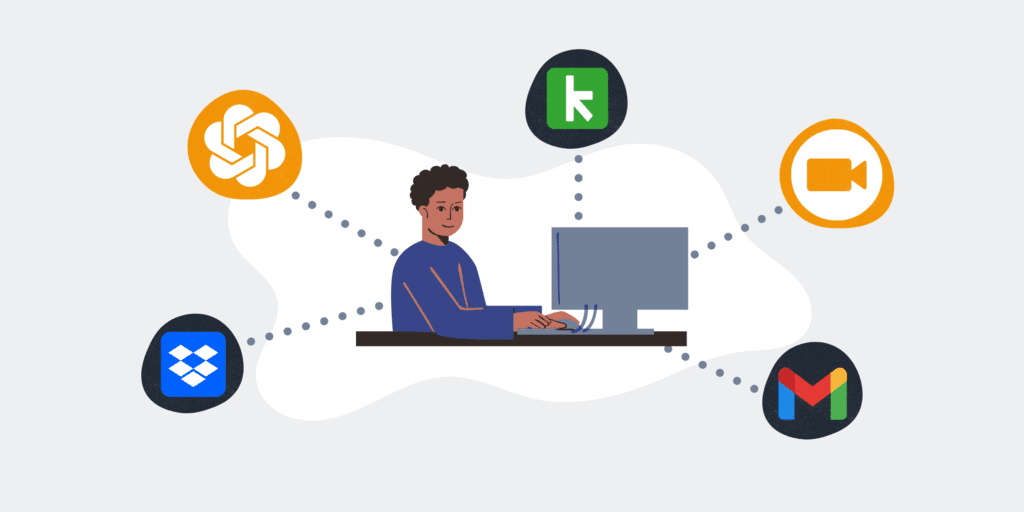
Step 3: Design Your Automation Blueprint in Make.com
Make.com is a powerful low-code automation platform that excels at connecting disparate systems and orchestrating complex workflows. Your automation blueprint in Make.com will dictate the sequence of actions triggered by specific events in Keap. For example, when a candidate’s Keap tag changes to “Offer Accepted,” Make.com can trigger the creation of a new contact in your HRIS, send an e-signature request for the offer letter via PandaDoc, and schedule a series of automated welcome emails. Structure your scenarios logically, breaking down the entire onboarding process into manageable, sequential modules. This modular approach allows for easier troubleshooting and future scalability.
Step 4: Configure Automated Communications and Task Assignments
A critical component of a successful onboarding automation is timely and personalized communication. Within Keap, create a library of email and SMS templates for various stages of the onboarding journey. These can include welcome messages, reminders for outstanding documents, introductions to team members, and information about the first day. Use Keap’s automation builder or integrate with Make.com to dynamically personalize these communications with candidate-specific data. Furthermore, automate internal task assignments for your HR team or hiring managers. For instance, an automation can assign a “Prepare workstation” task to IT or a “Schedule coffee chat” task to the hiring manager once the candidate reaches a certain stage.
Step 5: Implement Document Management and Data Sync
Manual document collection and data entry are major time sinks. Leverage integrations to automate this. When a candidate accepts an offer, Make.com can trigger PandaDoc to send out all necessary forms (W-4, I-9, employee handbook acknowledgment) for digital signature. Once signed, these documents can be automatically stored in a designated folder in cloud storage (e.g., Google Drive, SharePoint) and a link updated within the candidate’s Keap record. Simultaneously, ensure that key data points from Keap are automatically synced with other systems like your payroll provider or HRIS, eliminating duplicate data entry and reducing the risk of errors that often plague manual processes.
Step 6: Test, Refine, and Launch Your Automated Workflow
Thorough testing is paramount before rolling out any new automation. Create test candidates in Keap and run through the entire automated onboarding workflow from start to finish. Verify that all emails are sent, documents are correctly processed, tasks are assigned, and data is synced accurately across all integrated platforms. Pay attention to edge cases and potential failure points. Gather feedback from your HR team and any other stakeholders involved. Use this feedback to refine your Make.com scenarios and Keap automations, ensuring they are robust, reliable, and user-friendly. Once thoroughly tested and optimized, you can confidently launch your new, automated candidate onboarding process.
If you would like to read more, we recommend this article: The Ultimate Guide to Strategic Business Automation with AI


RELATED POST

")