Post: How to Connect Your ATS, HRIS, and Payroll with Make.com: A Step-by-Step Integration Guide
Connect your ATS, HRIS, and payroll using Make.com by auditing data flows first, mapping every field by system of record, then building trigger-based scenarios that move employee records automatically at each lifecycle stage. That eliminates the manual handoffs where errors like $27K overpayments originate.
HR data fragmentation is not a technology problem — it is an architecture problem. Your ATS, HRIS, and payroll platform each work as designed. The breakdown happens between them, in the manual handoffs where a recruiter exports a spreadsheet, an HR coordinator re-types it into a second system, and a payroll admin copies it into a third. Each handoff is a risk event. That is where the errors live.
This guide shows you exactly how to connect those systems using Make.com — from system audit to verified go-live. For the foundational data integrity principles that make integrations production-grade, start with Master Data Filtering and Mapping in Make for HR Automation. This post covers the connection layer: how you wire the systems together so data moves without human intervention.
Before You Start: Prerequisites
Complete every item on this list before building a single module. Skipping prerequisites is how HR integrations fail in production three weeks after launch.
- API access confirmed on all three systems. Log in to your ATS, HRIS, and payroll platform admin panels and verify that API access is enabled for your account tier. Some entry-level plans restrict API connectivity. Confirm before building.
- API credentials collected and stored. Gather your API keys, OAuth tokens, or Basic Auth credentials for each system. Store them in a password manager — not a shared spreadsheet. You will need them during Make.com connection setup in Step 2.
- Field mapping document drafted. List every data field that must move between systems: candidate first name, last name, email, start date, compensation, job title, department, employment type. Note the exact field name and data type (string, integer, date, boolean) in each system. Mismatched field types are the leading cause of silent data errors.
- Source of truth designated by data type. Decide in writing which system owns each data category. The ATS owns candidate and offer data. The HRIS owns active employee records. Payroll owns compensation calculations. Without this designation, bidirectional syncs overwrite each other in conflict loops.
- Sandbox or staging environment available. Never build directly against your production payroll or HRIS. Most enterprise HR platforms offer sandbox environments. Confirm access before Step 5.
- Time budget allocated. A single ATS-to-HRIS scenario takes 2–4 hours to build and test. A full three-system integration — ATS → HRIS → Payroll — with error handling takes 1–3 days. Plan accordingly.
Step 1 — Audit Your HR Tech Stack and Map Every Data Flow
Before you open Make.com, document exactly what data moves between your systems, when it moves, and what triggers it. A missing trigger definition at this stage produces a scenario that never fires — or worse, fires on the wrong event.
Create a simple table with four columns: Source System | Trigger Event | Destination System | Fields Transferred. Walk through the employee lifecycle from offer acceptance to exit and fill in every row.
Common trigger events in HR integrations include:
- Candidate status changed to “Hired” in ATS → create employee record in HRIS
- New employee record created in HRIS → create payroll record in payroll platform
- Employee information updated in HRIS → push update to benefits administration portal
- Termination recorded in HRIS → deactivate payroll record and flag for benefits termination
- Job change or promotion recorded in HRIS → update compensation tier in payroll
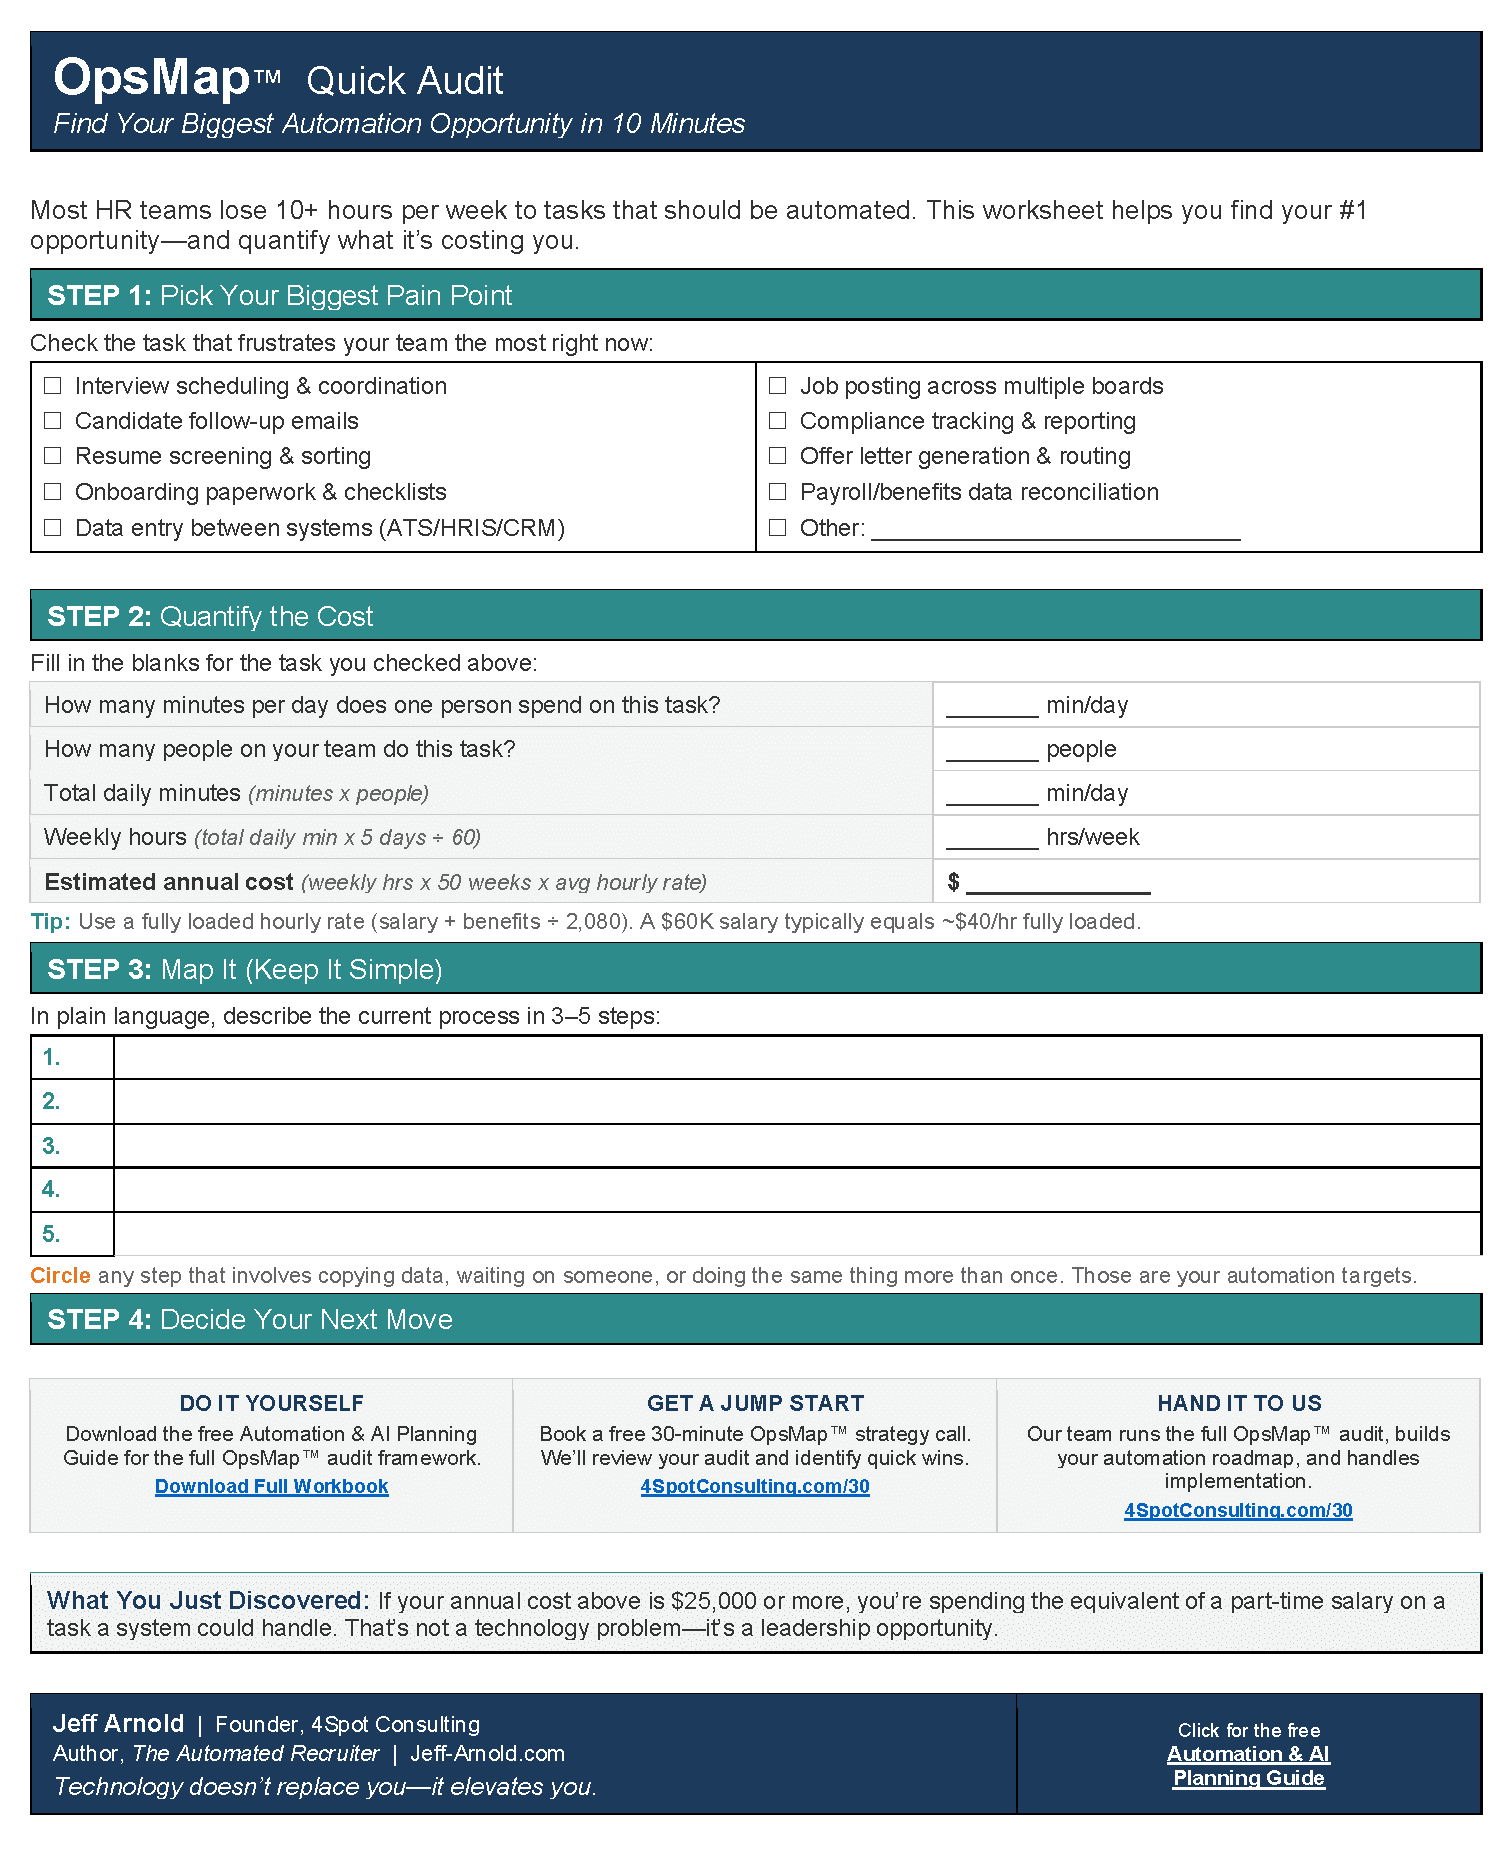
This audit is the same exercise at the center of an OpsMap™ discovery engagement. If you are doing this for the first time, read What Is OpsMap? The Discovery Step That Prevents Automation Mistakes before you proceed. The map you create in Step 1 is the build plan for every scenario you create in Steps 3 through 6.
Step 2 — Set Up Your Connections in Make.com
Make.com uses saved connections to authenticate to external apps. You set these up once and reference them in every scenario you build. Get all three connections working before you build anything.
How to create a connection:
- In Make.com, navigate to Connections in the left sidebar.
- Click Create a new connection.
- Search for your ATS by name (Greenhouse, Lever, Workable, BambooHR, or your specific platform).
- Enter the API credentials you collected in the prerequisites. For OAuth-based systems, Make.com redirects you through the authorization flow automatically.
- Name the connection clearly — for example, “Greenhouse – Production” — so you can identify it in scenarios later.
- Repeat for your HRIS and payroll platform.
If your platform has no native Make.com connector: Use an HTTP module with the platform’s REST API. You will configure the base URL, authentication header, and request body manually. This is standard practice for mid-market HR platforms. The Make.com HTTP module handles OAuth 2.0, API key headers, and Basic Auth. For a full walkthrough of this approach, see How to Feed API Docs Into Claude to Build Make HTTP Modules Without Native Connectors.
Test every connection before moving on. Make.com shows a green checkmark when a connection authenticates successfully. A yellow or red status means the credentials are wrong or the account tier does not permit API access. Resolve all three before Step 3.
Step 3 — Build the ATS-to-HRIS Scenario First
Build one scenario at a time in dependency order. The ATS-to-HRIS scenario is always first because the HRIS employee record is what the payroll scenario depends on. Reverse this order and your payroll scenario has nothing to look up.
Scenario structure for ATS → HRIS:
- Trigger module: Watch for a specific event in your ATS. The correct trigger is “Candidate status changed to Hired” (or the equivalent label in your platform). Do not use a polling trigger that fires every 15 minutes — use a webhook trigger if your ATS supports it. Webhook triggers are real-time and do not consume unnecessary Make.com operations.
- Filter module: Confirm the candidate record has all required fields populated before passing data forward. Required fields at minimum: first name, last name, email, start date, job title, department. If any required field is missing, route to your error notification channel instead of proceeding. A record with missing fields creates a broken HRIS entry that your HR team will spend hours correcting manually.
- Data transformation module: Map the ATS field names to HRIS field names. This is where your field mapping document from Step 1 becomes the build guide. Common transformations include date format conversion (ATS may output MM/DD/YYYY; HRIS may require ISO 8601 YYYY-MM-DD) and employment type code translation (ATS may use “FT”; HRIS may require “Full-Time”).
- Create Record module: Create the new employee record in your HRIS. Map each transformed field to the corresponding HRIS input field. Leave optional fields blank rather than passing empty strings — empty strings cause validation errors in some HRIS platforms.
- Response capture module: Capture the new HRIS employee ID returned by the create operation. Store it. You will need it in Step 4 to link the payroll record back to the HRIS record.
- Error handler: Add a route-based error handler to every scenario. The 4Spot standard is three retry attempts at 60-second intervals, then a Slack or email notification with the Make.com execution URL so any human can trace directly to the failed run. For a complete walkthrough, see How to Set Up Routed Error Handling in Make With AI Assistance.
Name every module what it does. Not “HTTP” — “Create Employee in Bamboo.” Not “Module 4” — “Filter: Required Fields Present.” Unnamed modules are the reason automations become unmaintainable six months after launch.
Step 4 — Build the HRIS-to-Payroll Scenario
This scenario fires when a new employee record is created in your HRIS — which the ATS-to-HRIS scenario from Step 3 just started triggering automatically. That is the dependency chain in action.
Scenario structure for HRIS → Payroll:
- Trigger module: Watch for new employee records in your HRIS. Most HRIS platforms offer a webhook that fires on record creation. Use it. If not available, use a scheduled trigger that polls every 15 minutes during business hours only — no reason to poll at 3 AM when your team is not hiring overnight.
- Lookup module: Retrieve the full employee record from the HRIS using the employee ID. The trigger event often contains limited fields. The lookup pulls the complete record including compensation data, which the trigger alone does not always provide.
- Compensation validation module: Confirm that a compensation value exists and falls within a defined range before passing it to payroll. An out-of-range compensation — $0, $1, or a blank field — entering a payroll system creates a compliance event. Block it here with a filter that checks the value against your defined minimum and maximum thresholds.
- Create Payroll Record module: Create the employee record in your payroll platform. Required fields vary by platform but universally include: legal name, tax ID format (SSN in the US — handle this field with encryption or tokenization, not plain text), compensation, pay frequency, start date, and direct deposit routing if available.
- Confirmation write-back module: Write the payroll employee ID back to the HRIS employee record in a custom field. This creates a traceable link between systems so HR, payroll, and your integration can all cross-reference. Without this link, troubleshooting a discrepancy between systems becomes a manual lookup exercise every single time.
Step 5 — Test in Sandbox Before Touching Production
This step is not optional. Every production outage I have seen in HR integrations traces back to someone skipping sandbox testing because the build “looked right.”
What to test:
- Happy path: Run a complete hire event through the full chain. ATS status change → HRIS record created → Payroll record created → Confirmation written back to HRIS. Verify every field value in every destination system matches the source exactly.
- Missing required field: Manually remove a required field from a test candidate record and run the scenario. Confirm that the filter blocks the record and that your error notification fires with the correct information. The scenario should not create a partial HRIS record.
- Duplicate trigger: Trigger the same hire event twice in quick succession. Confirm that your scenario does not create duplicate HRIS or payroll records. Add a deduplication check using a Make.com data store if your ATS does not suppress duplicate webhook fires natively.
- Data type mismatch: Pass a date in the wrong format deliberately. Confirm that the transformation module catches and corrects it before the create module fires. If the transformation module passes bad data to the HRIS, document the exact failure mode — that tells you where to add a validation step.
- Termination flow: If you built a termination deactivation scenario, test it with a sandbox employee record. Confirm that deactivation in HRIS cascades correctly to payroll deactivation without deleting the historical record.
Run each test case at least twice. The first run clears any initialization state. The second run confirms the scenario is deterministic — that it produces the same result every time given the same input.
Step 6 — Go-Live Checklist
Before you flip your scenarios from sandbox to production, complete every item in this list.
- All connections pointing to production endpoints. Sandbox connections and production connections have different URLs and different credentials. Confirm every connection in every scenario is pointed at the production instance of each system, not the sandbox.
- All scenarios named clearly. Make.com scenario names appear in error notifications, execution logs, and your team’s scenario list. Use a consistent naming convention: “[System] → [System] | [Event Type]” — for example, “Greenhouse → BambooHR | New Hire.” Your team should be able to identify a scenario by name without opening it.
- Error notifications routed to the right people. Error notifications should go to whoever can act on them — typically your HRIS admin or HR ops lead, not a generic team inbox that nobody watches. If you use Slack, route errors to a dedicated #hr-automation-alerts channel so they do not get buried.
- Scheduling confirmed. Webhook-triggered scenarios are always on. Scheduled scenarios need their run times confirmed. Payroll sync scenarios should align with your payroll processing window — not run arbitrarily on a 15-minute cycle at 11 PM the night before payroll closes.
- Rollback plan documented. Define exactly what your team will do if the integration produces a bad record in the first 48 hours of production. Who gets notified? Who has authority to pause the scenario? How do you identify and correct affected records? Document this before launch — not after the first incident.
- Monitoring window scheduled. Plan to actively monitor the first 10 real hire events that run through the integration in production. Do not walk away on go-live day. Watch the execution logs in real time for the first few runs. This is when edge cases in your actual production data surface that sandbox testing did not expose.
Common Failure Points and How to Prevent Them
These are the specific failure modes that cause HR integrations to break in production. Most are preventable at build time.
Silent field truncation. Some HRIS platforms accept a string longer than their field limit without throwing an error — they just truncate it. A job title of “Senior Vice President of Human Resources” becomes “Senior Vice President of Hum” in the HRIS and nobody notices until a benefits file generates with the wrong title. Add a length validation step for any free-text field before the create module fires.
Timezone offset errors on dates. Start dates entered in your ATS at 11:30 PM Pacific may convert to the next calendar day in UTC, which is what most APIs transmit. An employee with a start date of June 1 arrives in your HRIS and payroll system with a start date of June 2. Payroll is short one day. Fix this by stripping the time component from all date fields before transformation and passing date-only values (YYYY-MM-DD) rather than full timestamps.
Webhook authentication expiration. OAuth tokens expire. When the token powering your ATS webhook connection expires, the trigger stops firing — silently. New hires no longer create HRIS records. Nobody knows until a new employee’s first day arrives and they are not in payroll. Set a calendar reminder to review connection health monthly, or configure a Make.com scenario that pings each connection on a schedule and alerts your team if authentication fails.
Rate limiting. If your company runs a batch of 50 hires in a single day — onboarding class, acquisition, seasonal ramp — some ATS platforms fire all 50 webhook events within seconds. Most payroll APIs enforce rate limits of 10–20 requests per minute. Without rate limiting in your Make.com scenario, the first 10–20 records process successfully and the rest fail silently. Add a sleep module or use Make.com’s built-in rate limiting controls when building scenarios for systems with known API rate limits.
Missing rollback logic for partial failures. If the HRIS record creates successfully but the payroll record fails, you now have an employee in your HRIS with no payroll record. The ATS scenario already completed and will not re-fire. Without a rollback or alert mechanism, this employee hits their first payday with no payroll entry. Add an explicit check after every create operation: if the downstream create fails, write an alert to your error channel with the HRIS employee ID and all the fields needed to create the payroll record manually.
What This Integration Looks Like Inside an OpsMesh™ Engagement
When 4Spot takes on an HR tech stack integration, this scenario sequence is built inside an OpsBuild™ sprint — the structured build phase that follows the OpsMap™ discovery. The OpsMap™ produces the data flow document you build in Step 1. The OpsBuild™ produces the tested, documented, production-ready scenarios you build in Steps 2 through 6.
The difference between a DIY integration and one built inside OpsMesh™ is not the scenario logic — it is the audit trail, the error handling architecture, the rollback plan, and the ongoing OpsCare™ monitoring that catches connection token expirations and rate limit failures before they become payroll events.
For small HR teams running this integration for the first time, read How Solo and Small HR Teams Can Fix Broken HR Operations Without Burning Out for context on where this kind of integration fits in a broader operational cleanup. And if you want to see what an HR team without a technical background can build with Make.com and AI assistance, read How a Non-Technical HR Team Started Building Their Own Automations With Make + AI.
The manual spreadsheet export is not a workflow. It is a liability. Build the connection once and stop treating your HR team as the integration layer between your own software.


RELATED POST