
Post: How to Automate Complex HR Data Flows with Make.com Routers: A Step-by-Step Guide
HR automation breaks at the routing layer. A new-hire record fires and reaches the wrong system, with missing fields, or nothing at all. Make.com routers solve this by splitting one data stream into parallel branches — each branch targeting a specific destination with only the fields that destination requires.
Most HR teams hit the same wall. They connect their ATS to Make.com, build a trigger, and assume the rest is straightforward. Then a new-hire record lands in payroll but not HRIS. Or it hits both systems with blank required fields. Or a department condition is wrong and the record routes nowhere, silently. The scenario ran. No error fired. The hire never showed up downstream.
This is the routing layer problem. It is where the majority of HR automation failures happen, and it is entirely preventable. This guide walks through how to build a Make.com Router scaffold that sends every HR record to the right system with the right fields, every time.
For upstream context on data validation and field mapping — the work that must happen before routing — see the guide on how non-technical HR teams build automations with Make and AI. That foundation is a prerequisite for everything below.
Before You Build a Single Router Branch
Four things need to be in place before you open Make.com. Missing any of them turns the router into a liability.
- Clean upstream data. Routers route. They do not cleanse. Every field hitting the Router module must already be validated and normalized. If department names are inconsistent — “Sales,” “sales,” “SALES” — every branch filtering on department inherits that inconsistency. Normalize upstream first, before the router sees any data.
- A documented field map. Know which fields each destination system requires before building any branch. HRIS needs first name, last name, SSN, start date, and department. Payroll needs employee ID, salary, pay frequency, and bank routing data. IT provisioning needs first name, last name, manager email, and department. Map these in a spreadsheet before you open Make.com.
- Working API credentials for every destination. Each branch fires an API call to a different platform. Confirm you have active credentials, the correct base URL, and the right authentication method — OAuth 2.0, API key, or Basic Auth — for every destination before you start building.
- A sandbox or test environment. Run every test against sandbox instances of your HRIS and ATS, not production data. Make.com lets you pin a specific bundle for testing. Use it.
Estimated build time: 3–6 hours for a four-branch new-hire onboarding router with error handling. Add 1–2 hours per additional branch.
Step 1 — Document Routing Conditions Before Opening Make.com
Router branches without documented conditions become unmaintainable within weeks. Write every branch condition in plain language first.
Open a spreadsheet. Create one row per routing branch. For each branch, record four things:
- Trigger condition: What field value — or combination of values — sends a bundle down this branch? Example: Employment Type = Full-Time AND Department = Engineering.
- Destination system: Which platform does this branch write to?
- Fields transmitted: List every field this branch sends. Send only what the destination requires. Sending unnecessary PII to systems that do not need it is a compliance exposure.
- Error behavior: What happens if this branch fails? Who gets notified?
A standard HR router for new-hire onboarding has four to six branches: HRIS enrollment, payroll setup, IT account provisioning, benefits eligibility trigger, manager notification, and an optional compliance audit logging branch. Document all of them before writing a single filter condition in Make.com.
If you are not sure which processes to automate first, 7 questions to ask before you automate anything gives you the decision framework that keeps automation projects from becoming scope sprawl.
Step 2 — Add the Router Module to Your Make.com Scenario
The Router module creates parallel processing paths from a single data stream. Here is the exact build sequence.
Start from your existing trigger — Webhook, Watch Records, or whatever fires on new-hire data entry. After the last data transformation module, click the plus icon and add a Router. The Router itself contains no logic. It is a split point. Every filter condition lives on the individual branch connectors that come out of it.
Click the first branch output to add a module. Before adding that module, set the filter on the branch connector — the small circle between the Router output and the first module. This is where the routing condition lives.
In the filter, set:
- Condition 1: The field that determines which records this branch handles. Example: Employment Type [Text] Equal to [Full-Time].
- Condition 2 (if needed): AND logic for additional qualifiers. Example: Department [Text] Equal to [Engineering].
Repeat this for each branch. The Router evaluates every branch filter in parallel — bundles that match a filter condition continue down that branch. Bundles that match no filter conditions exit the Router silently. That silent exit is the most common source of lost records, which is exactly why the documentation from Step 1 is not optional.
Step 3 — Configure Each Branch Module
Each branch ends in an action module that writes to a destination system. The configuration approach is the same regardless of destination.
Use native connectors when they exist. Make.com has native modules for most major HRIS platforms, payroll systems, and IT provisioning tools. Native connectors handle authentication renewal automatically. Use an HTTP module only when no native connector exists.
For each destination module:
- Map only the fields from your documented field map to the module’s required fields. Do not map additional fields unless the destination system requires them.
- Fill every required field. Make.com marks required fields with an asterisk. A missing required field produces a runtime error — not a validation warning before publish.
- Run any format transformations upstream, before the router. If your ATS stores names as “Last, First” and your HRIS requires “First Last,” fix the format before the split, not inside each branch separately.
- Name the module after what it does. “HRIS — Enroll New Employee” is a module name. “HTTP 3” is not.
For a concrete example of what a well-built HR onboarding automation delivers at the finish line, see how Sarah compressed a 45-minute onboarding process to under 4 minutes.
Step 4 — Add Error Handling to Every Branch
An unhandled error in a Router branch drops the bundle and produces no notification unless you build one. This is the single most common router implementation mistake. Build error handling before you test, not after.
The 4Spot standard for HR routing scenarios uses three tiers:
- Break with retry on transient errors — network timeouts, rate limit responses, temporary API unavailability. Set 3 retry attempts at 60-second intervals. This handles the majority of real-world failures without human involvement.
- Rollback or ignore on data errors — missing required fields, invalid field values. These errors will not resolve with a retry. Route them to a notification branch instead of burning retries.
- Notification on final failure. After retries are exhausted, send an alert via Slack or email containing the failed bundle data, the error message, and the Make.com execution URL. The execution URL lets whoever receives the alert jump directly to the failed run without searching through logs.
Right-click any module in a branch to access the error handler options. Add an error handler route for every external API call in the scenario. For a detailed walkthrough on the configuration, see how to set up routed error handling in Make with AI assistance.
Step 5 — Test Each Branch in Isolation
Testing the full router before testing individual branches produces ambiguous failures that are hard to trace. Test in isolation first, then end-to-end.
For each branch:
- Pin a test bundle that matches the branch filter condition exactly.
- Disable all other branches by right-clicking each branch connector and selecting “Disable route.”
- Run the scenario with the pinned bundle.
- Verify the record appears correctly in the destination system sandbox.
- Deliberately break the filter condition on the test bundle and verify the branch does not fire.
- Re-enable the branch and move to the next one.
After all branches pass isolation testing, run an end-to-end test with a bundle that matches all branch conditions simultaneously. Verify every destination system received the correct record with the correct fields.
Then test the failure path. Temporarily break a destination module’s authentication. Confirm the error handler fires, the retry logic executes, and the failure notification arrives with the execution URL intact. Restore authentication and confirm the retry succeeds.
Six Router Mistakes That Surface After Go-Live
These failures appear repeatedly in HR automation builds. Build against them from the start.
Silent no-match exits. A bundle matches no branch filter and exits the router without firing any branch and without generating an error. Fix: add a fallback branch at the end of the router with no filter condition. This branch catches everything that matched nothing. Route it to a Slack alert with the bundle data and the label “Router — No Branch Match.”
Filter conditions that never match. You wrote the filter as “Department = Engineering” but the upstream data sends “engineering” in lowercase. The filter never fires. Fix: normalize case in a text-transform module before the router. Every time.
Branches sharing a module outside the router. Two branches both need to write to the same system for different record types. The builder creates one shared module downstream of the router. This breaks conditional logic entirely. Each branch needs its own module even when the destination and configuration are identical.
No human-readable module names. Three months after go-live, someone needs to modify a branch. Every module is named “HTTP” or “Google Sheets” or “Module 7.” The modification takes three times longer than necessary. Name every module at build time.
PII in failure notifications. The alert message includes SSN or bank routing data in plain text because it was mapped directly from the bundle. Set notification messages to include only non-sensitive identifiers — employee ID, name, scenario name — not PII fields. The execution URL provides access to the full bundle for authorized users who need it.
Skipping the fallback branch on the assumption “everything will match.” It will not. Data quality issues, upstream system changes, and edge cases produce no-match bundles in every production HR router. The fallback branch is not optional.
What This Routing Architecture Enables
A properly built HR router does more than move data. It gives you a single point of control for every downstream system that touches employee records. When a destination system changes its API, you update one branch. When a new system joins the onboarding process, you add one branch. When a compliance audit asks for evidence that records routed correctly, the Make.com execution log provides it with timestamps.
The organizations that treat routing as infrastructure — not as a quick connection between two systems — build automation that holds up through system changes, personnel changes, and scale increases. The organizations that skip the documentation, skip the error handling, and skip branch isolation testing rebuild everything in six months.
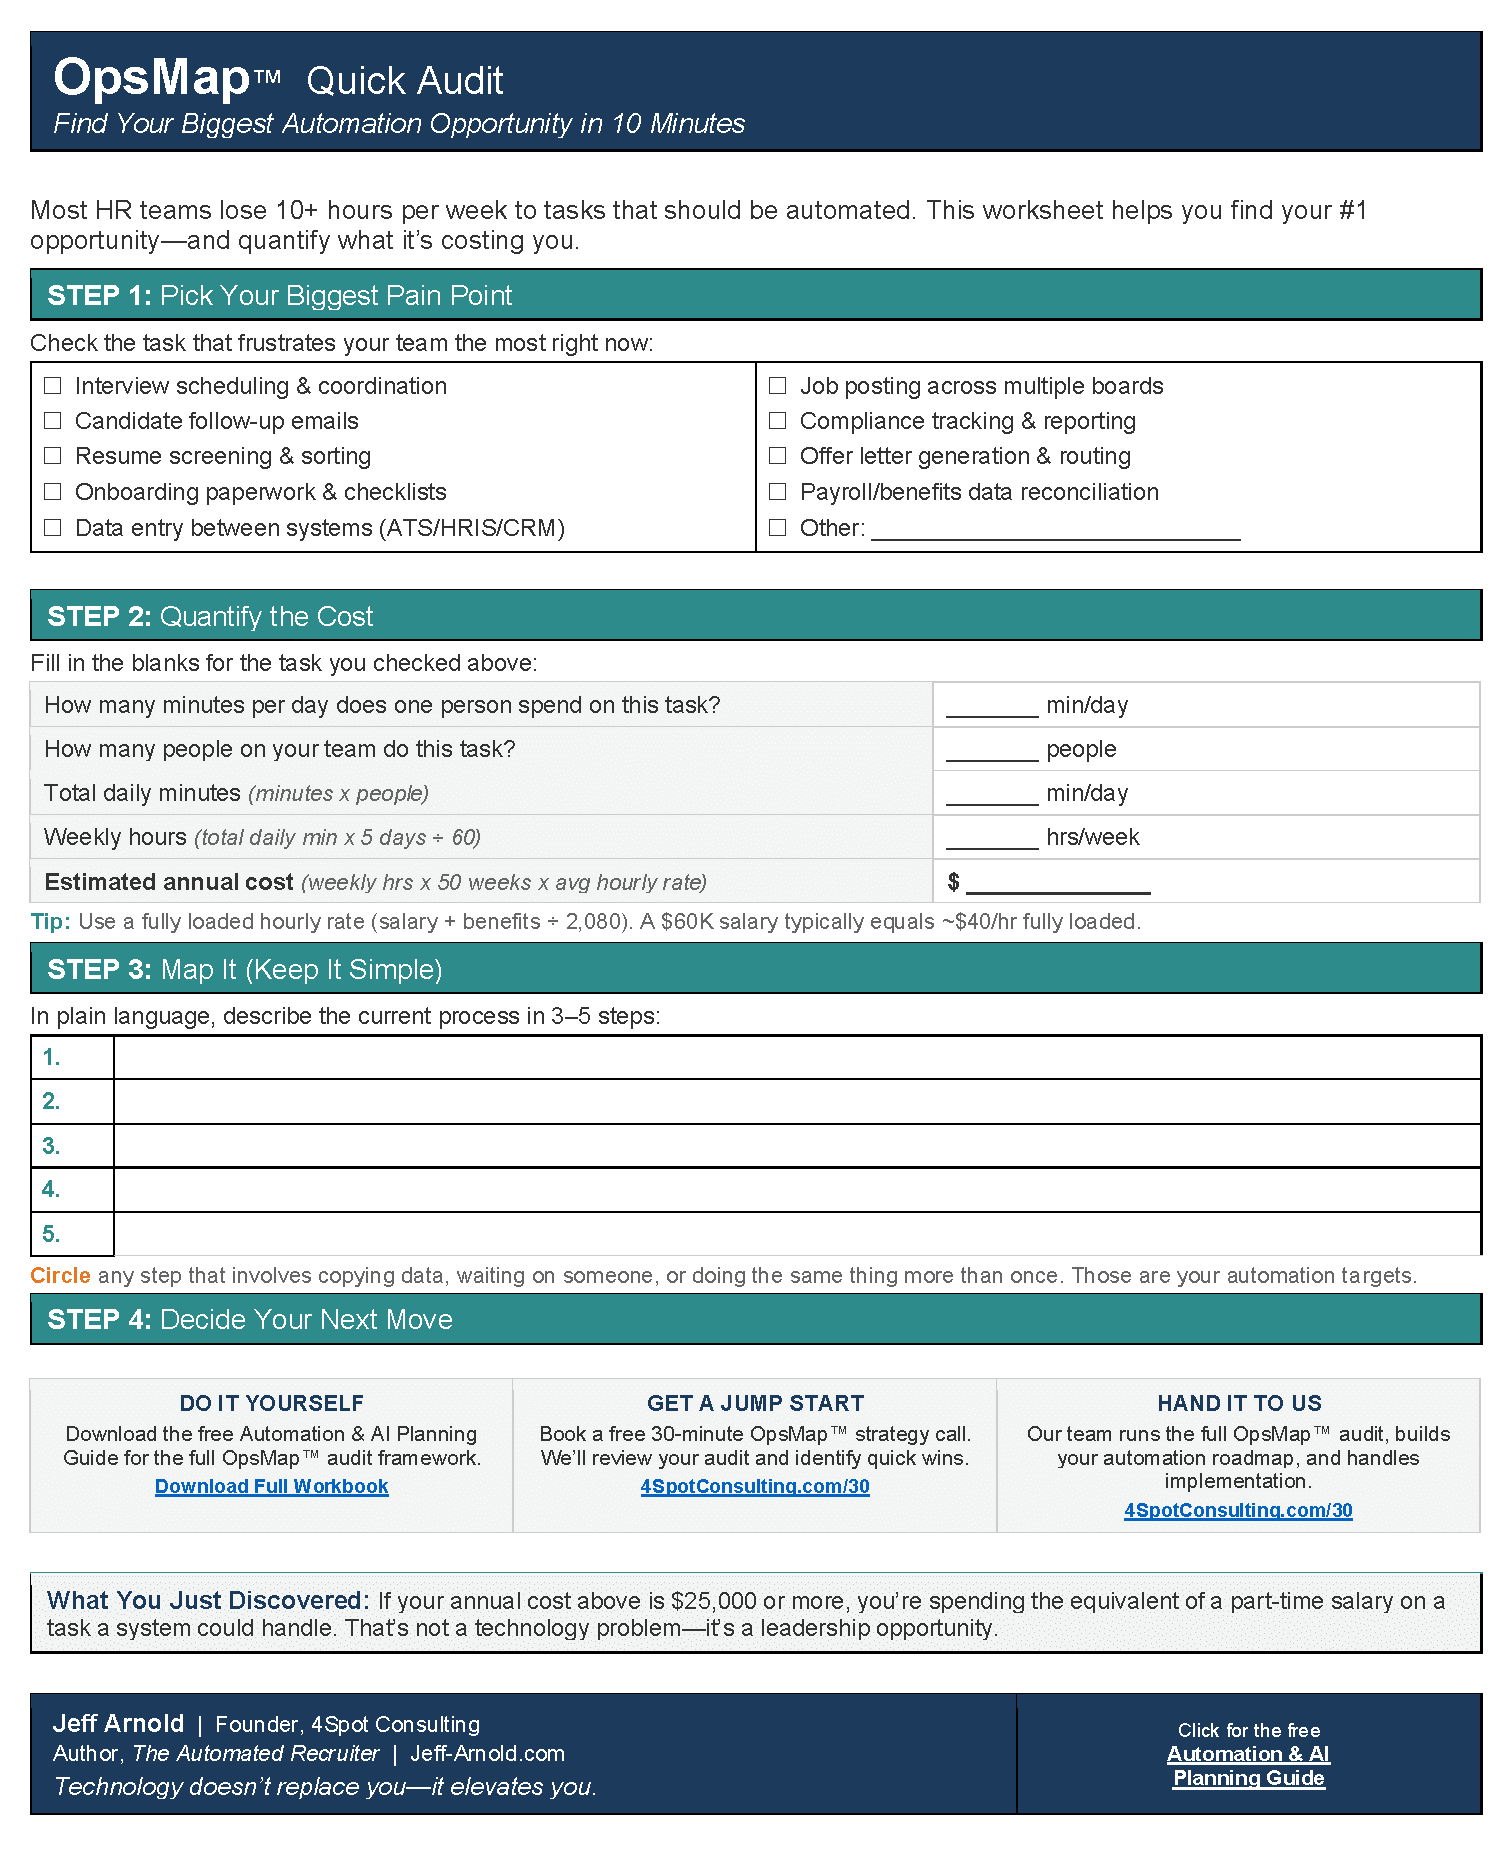
If you are evaluating whether to build this in-house or with a specialist, DIY automation vs. hiring a Make partner in 2026 lays out exactly where the line is. And if you want to understand how the OpsMap™ discovery process identifies which HR workflows to automate and in what sequence, what OpsMap is and how it works gives you the full methodology.



RELATED POST